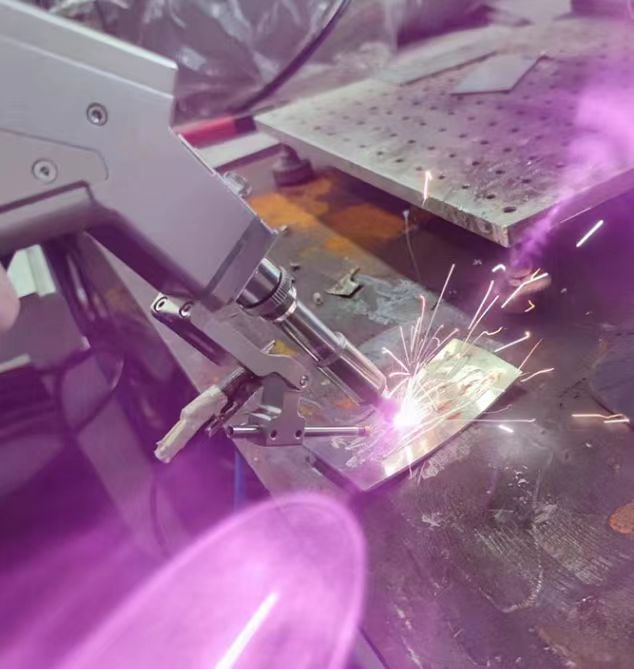
There are several important steps involved in setting up your laser cutter and maintaining it properly, including using degreasers and cleaning the lenses. Here’s a detailed guide to help you through the process:
Laser cutting machine installation
- Unboxing and positioning
—Carefully unpack the laser cutting machine and check whether there is any damage during transportation.
-Place the machine on a stable, level surface, in a well-ventilated area with sufficient space around it for operation and maintenance. - * * * * Electrical connection
- Make sure the machine is connected to a stable power source with the correct voltage specified by the manufacturer.
-Properly ground to prevent electrical hazards.
- Cooling System Settings
-If your laser cutting machine uses a water cooling system, set up the chiller or cooling device according to the manufacturer’s instructions.
-Fill the cooling unit with appropriate coolant and connect it to the laser cutting machine. - Exhaust system installation
-Install an exhaust system to remove smoke and particles generated during cutting.
—Make sure pipes are well connected and lead to a safe outdoor exhaust point. - * * * *Software installation
-Install the required software on your computer and connect it to the laser cutting machine.
—Configure software settings according to machine specifications.
Install the front oil remover
- Positioning the oil remover
-Install the oil removal device on the front of the laser cutting machine to ensure easy maintenance. - Connect the oil remover
-Connect the grease trap to the machine according to the manufacturer’s instructions, making sure all connections are secure.
-Test the grease trap to make sure it is working properly.
Clean the lens
- * * * *Safety Precautions
- Before starting any maintenance, turn off and unplug the laser cutter.
—Wear appropriate safety equipment such as gloves and safety glasses.
- Removing the lens
-Open the laser head and carefully remove the lens according to the manufacturer’s instructions.
-Treat the edges of the lens to avoid leaving fingerprints. - Clean lenses
-Use the manufacturer’s recommended lens cleaning fluid or a mixture of isopropyl alcohol and distilled water.
-Apply the solution to a lens tissue or soft lint-free cloth.
-Gently wipe the lens in a circular motion to remove any dust or residue.
-Dry your lenses with a dry lens tissue or cloth. - Reinstall the lens
-After the lens is clean and dry, carefully reinstall it into the laser head.
- Make sure the lens is properly aligned and secured.
final check
- Test Machine
- Turn on the laser cutter and make a test cut to make sure everything is working properly.
- Check if there are any abnormal noises or problems during operation.
- * * * *Regular maintenance
-Establish a regular maintenance schedule for cleaning lenses and checking grease traps.
-Record maintenance activities to ensure machines are in optimal condition.
The following steps will help you install and maintain your laser cutting machine effectively, ensuring it runs smoothly and efficiently. If you encounter any problems or are unsure about any steps, check your machine manual or contact the manufacturer for support.

