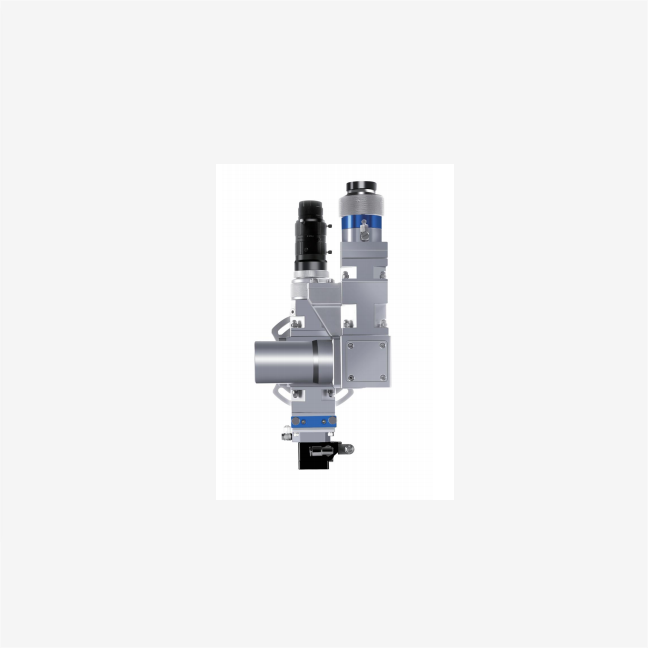
If your laser cutter suddenly stops cutting material under normal parameters, there are a few troubleshooting steps you can follow:
Check the lens and mirrors:
Make sure they are clean and not damaged or misaligned.
Dust, dirt, or smudges on the optics can reduce the laser power reaching the material.
Check the laser tube:
Make sure the laser tube is working properly.
Over time, a laser tube loses power output. If it is old or used frequently, it may need to be replaced.
Verify the focus:
Check that the laser is properly focused on the material.
Adjust the focus height based on the material thickness.
Material quality:
Make sure the material itself is suitable for laser cutting and that the quality and composition have not changed.
Some materials have coatings or impurities that can affect cutting.
Check the cutting speed and power settings:
Double-check that the speed and power settings are correct for the material being cut.
If necessary, increase the power or decrease the cutting speed.
Check the air assist:
Make sure the air assist is working properly and the nozzle is not clogged.
Adequate air assist can help blow away debris and prevent flames.
Software and firmware:
Make sure the machine’s software and firmware are up to date.
Sometimes updates can fix bugs or improve performance.
Environmental Factors:
Check for changes in the operating environment, such as temperature or humidity, that can affect cutting performance.
Check for Obstructions:
Make sure there are no physical obstructions on the cutting bed or in the laser path.
Machine Calibration:
Recalibrate the machine if necessary, making sure all settings are optimal.
By completing these steps systematically, you should be able to identify and resolve issues that are preventing your laser cutter from cutting your material. If the problem persists, consider consulting the manufacturer’s technical support or a professional technician.

